3Dnatives Lab: Testing the Ultimaker S5 3D Printer
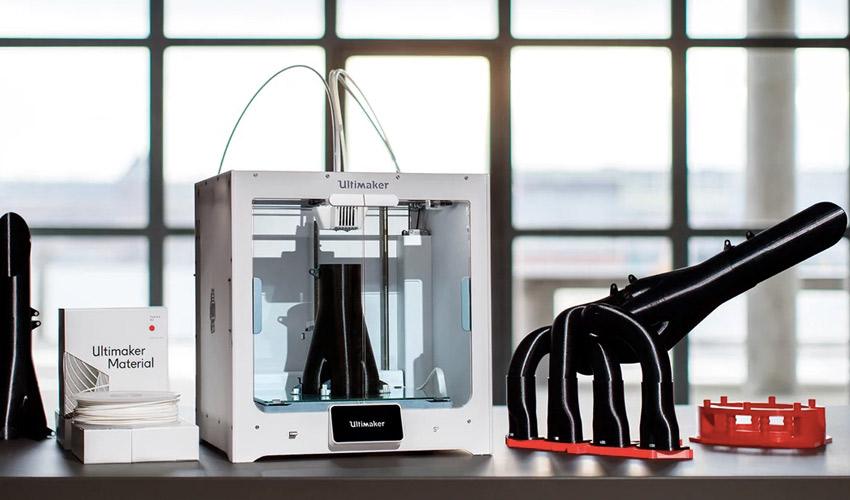
Presented for the first time at the Hannover Fair 2018, the Ultimaker S5, the latest generation of 3D printers from the Dutch manufacturer. Characterised by a large print volume (the largest in the Ultimaker range), a full-colour touchscreen and a closed speaker, the S5 is one of the best FDM machines on the market today.
The S5 3D printer takes over from Ultimaker 3, which marked a turning point in the brand’s history with the introduction of new components called Print Core. Installed within the print head, these enable the printer’s extruders to be adapted to different filaments, optimising print quality, reducing the risk of a clogged nozzle and making machine maintenance easier. With a public sale price of € 6,594 including VAT, what does the Ultimaker S5 contain? What improvements have been made to this new model to justify the price increase? Is it really better than the machines on the market? Questions that we tried to answer with this comprehensive test.
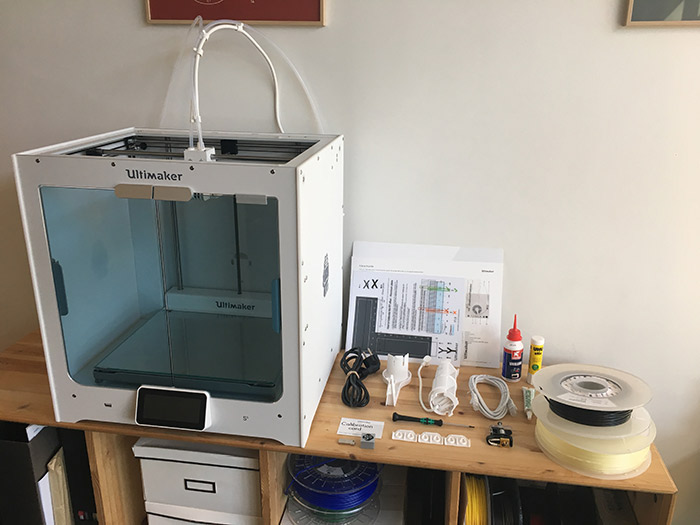
The unpacked Ultimaker S5 3D Printer
1. Unpacking the Ultimaker S5
As with every Ultimaker product, it all starts with the pleasure of the eyes. A beautiful packaging, a sleek 3D printer design, a sober and clear notice, we can only appreciate the effort provided by the brand on the aesthetic side.
Another part that jumps out at you when unpacking the machine, is its rather impressive dimensions of 495 x 457 x 520 mm. We quickly realise the difference in size with its big sisters, the S5 indeed offers an expanded production volume of more than 70% compared to the Ultimaker 3 Extended! This 3D printer can create pieces up to 330 x 240 x 300 mm (215 x 215 x 300 mm for the U3 Extended).
Among the various accessories and components included, there is a glass tray, 2 Print Core AA 0.40mm, 1 Print Core BB 0.40mm, 1 coil PLA Tough 750g, 1 coil PVA 750g. Then there’s a coil holder with guide, power supply electrical, sheet and calibration card. As well as ethernet cable, replacement nozzle caps, UHU glue tube, lubricant and grease for machine maintenance, hex screwdriver and USB key.
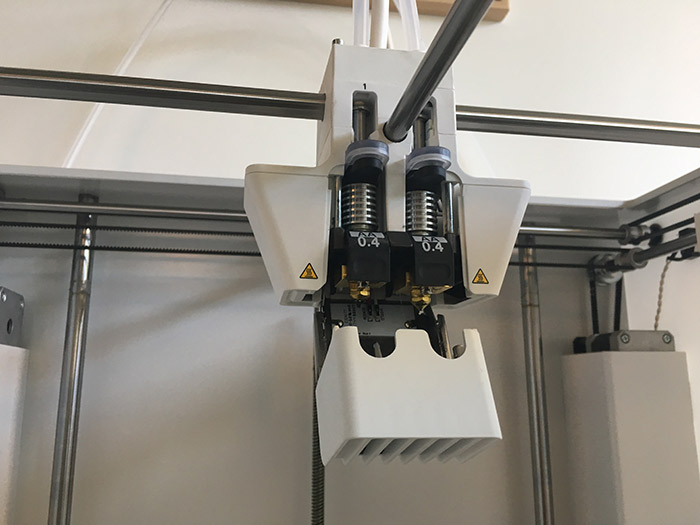
The 3D printer head S5 equipped with two 0.4mm Print Core AA
The manufacturer specifies that the machine should also receive an anodized aluminum tray in the coming months. Which is specially designed for technical materials (ABS, CPE +, PC etc.). Among other new features, Ultimaker should launch a Print Core CC dedicated to abrasive materials such as metal filaments or carbon loaded at the end of the year.
Let’s stop for a few moments and focus on the screen placed on the front. At 4.7 inches (11.9 cm) in size, it’s now full-colour and tactile. This is a first for the Ultimaker brand, that we, until now, was accustomed to have a control screen worthy of a calculator, and that was sorely a lack for the brand. A good point for this screen that will also allow you to directly view the model before printing.
Another small revolution is to be found on the side of the front doors. While it was possible to have an optional protective hood in the past, the brand decided to integrate these default glass doors in order to secure the machine and better control the temperature inside the enclosed printing room.
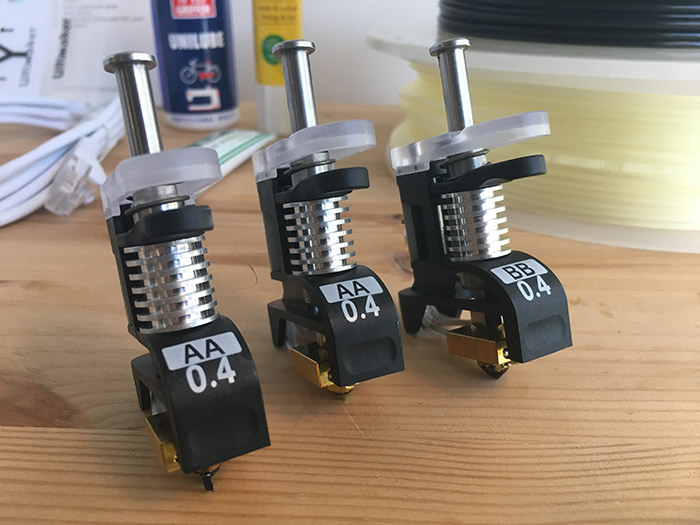
The three Print Cores delivered with the Ultimaker S5 3D Printer
2. Installing the Ultimaker S5
The installation of the machine does not present any particular difficulties: connection of the Bowden tubes, installation of the coil holder, the Print Core and the glass tray, and finally connection of the mains plug. In a second step, you will need to configure the WiFi connection and load the filaments. An installation when summed up is quite traditional.
It is true that by equipping the S5 with an EEPROM chip for the recognition of the Print Core and an NFC system for detecting the coils installed at the back of the machine, the manufacturer wanted to make sure that you were couldn’t mistaken it.
The self-leveling of the tray has also received some changes with the S5. Formerly optional, it is now mandatory before each print to compensate for calibration errors on the first layers. And while the verification was done by the palpation of only a few points on the Ultimaker 3, it is now on about thirty points.
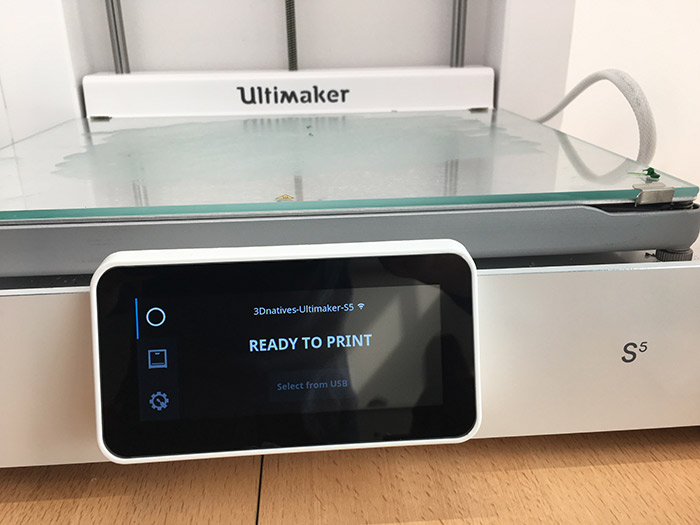
A full-colour touch screen is installed on the front of the new model
It’s a novelty that involves a little longer preparation time for each print but which ensures a higher success rate (especially on a large format machine such as the S5 which could involve more failures).
Another advantage is that manual Z calibration which is (almost) a story of the past. Although still possible, you will not need to regularly adjust the distance between the nozzle and the tray of the machine, except in case of problems. In the X / Y calibration, the 3 Print Core delivered with the machine are pre-calibrated. An operation that will only be necessary when purchasing an additional Print Core.
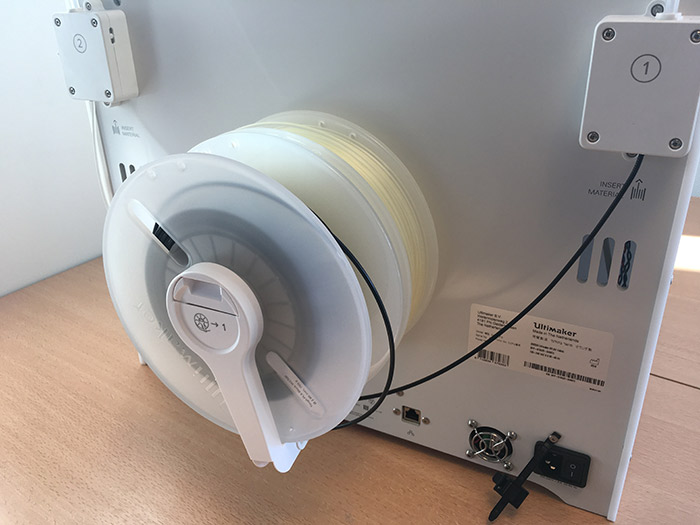
The reels are installed on the back of the S5 and are automatically detected in Cura
3. Cura Software
You guessed it, it’s Cura who has teamed up with the Ultimaker S5 3D printer. Nothing very new on this side, the software is known to all and regularly receives updates from the manufacturer. Without going back on the specificities of the software, one will be able to note the increasing number of printing parameters on which one will be able to play, and in particular on the double extrusion part.
As soon as you allow the display of the different modes: Basic, Advanced or Expert (in Preferences / Settings), a more or less long list of parameters will be proposed. Some of the settings will require long hours of printing before mastering them well. An experimental mode is also available to experiment with new parameters being tested by Ultimaker teams.
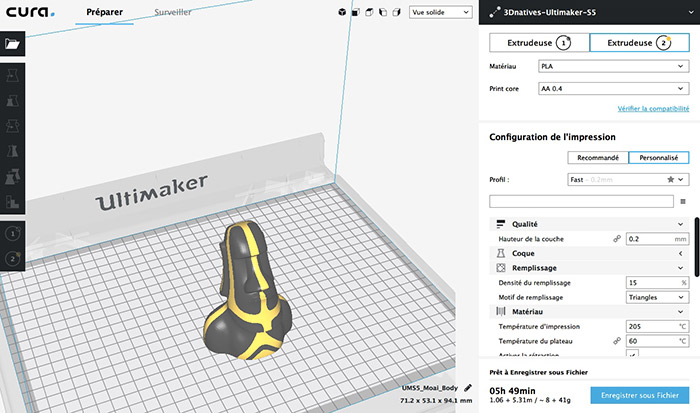
Cura, the faithful slicer of the Ultimaker
Among these new parameters, we can cite for example the adaptive layers, which allow to change the thickness of the layers according to the more or less complex geometry of your object, and thus play on the printing time. The support interface is another interesting parameter that will add an interface (soluble type for example) between your room and the media made in PLA for example. This saves time and the supports are easier to remove.
In our tests, we also noticed that Cura defaulted on typically longer print times compared to other slicers like Simplify3D or IdeaMaker (a difference of 4 hours for example for our Torture Test below). In talking with the support of Makershop (a big thank you to Charly), it turns out that this difference is mainly explained by a single parameter of Cura: the line width. It appears that, by default, Cura is more cautious than other slicers on the market, and aims to favour the final result at the expense of printing time. Nothing really blocking, but it seemed important enough to raise this point that can be optimised with experience.
4. First impressions
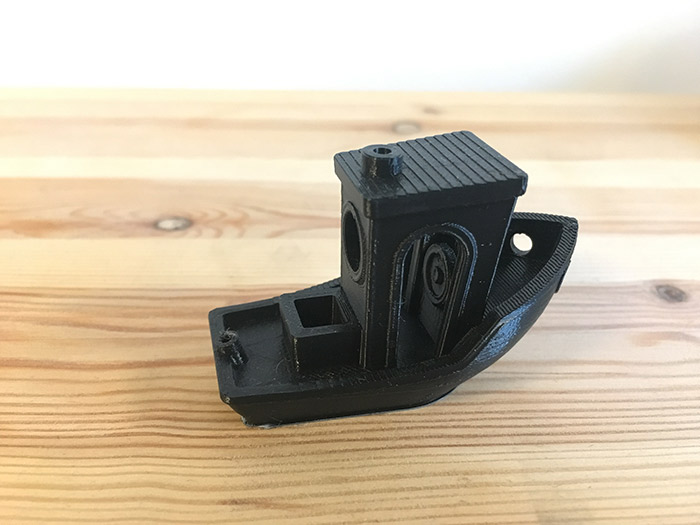
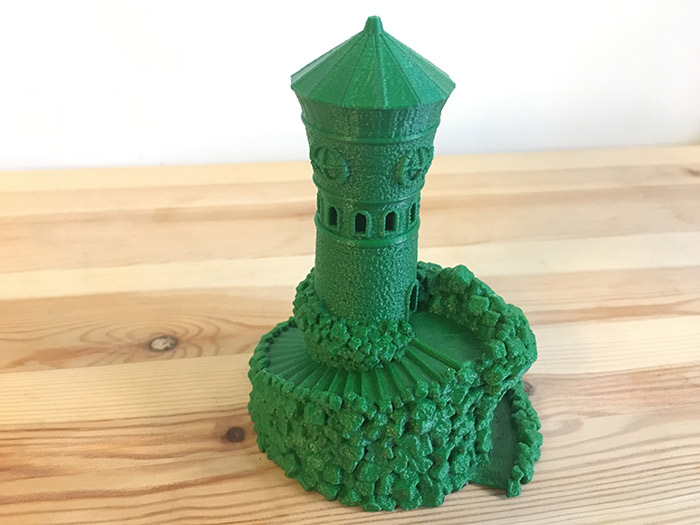
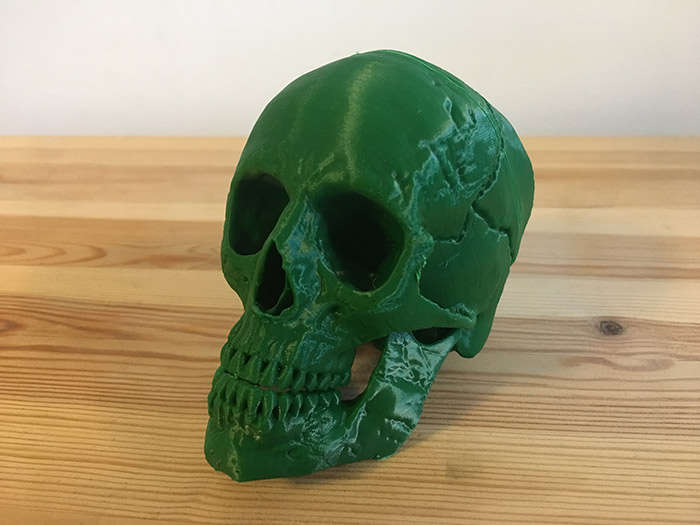
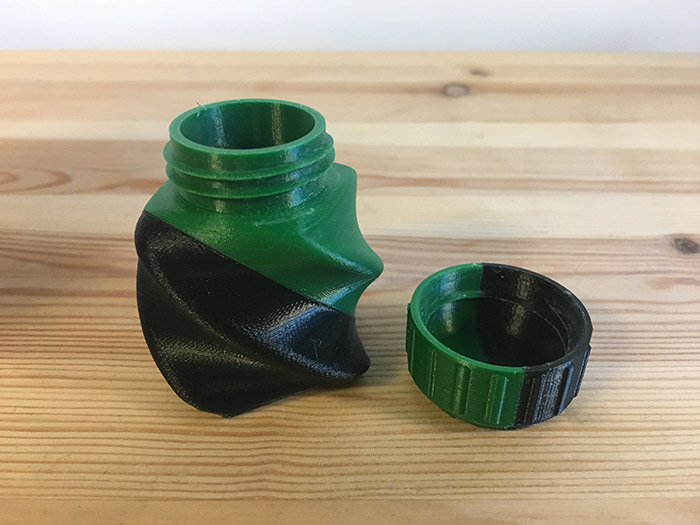
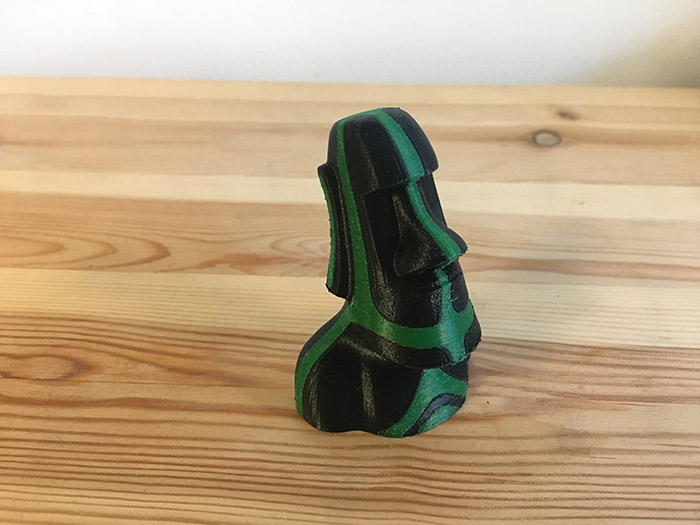
Once the machine is ready for use, it is time to launch the first impressions. To begin with, we wanted to test it with our usual torture test and a classic 3D Benchy. More complicated is Kijai’s ” Forbidden Watchtower ” model, Henryseg’s ” Triple Gear ” (printed with PVA-type soluble supports), Jarbaugh’s ” Pine Cone Cache “, Cosmo Wenman’s ” Venus of Milo ” or ” Human Skull”. From MakerBot. But also bi-colour models to try the double extrusion with ” Easter Island Moai ” by Marcfelis, ” Twisted Bottle & Screw Cup ” by David_Mussaffi or ” Star Cone From R3ND3R. We let you enjoy the results yourself.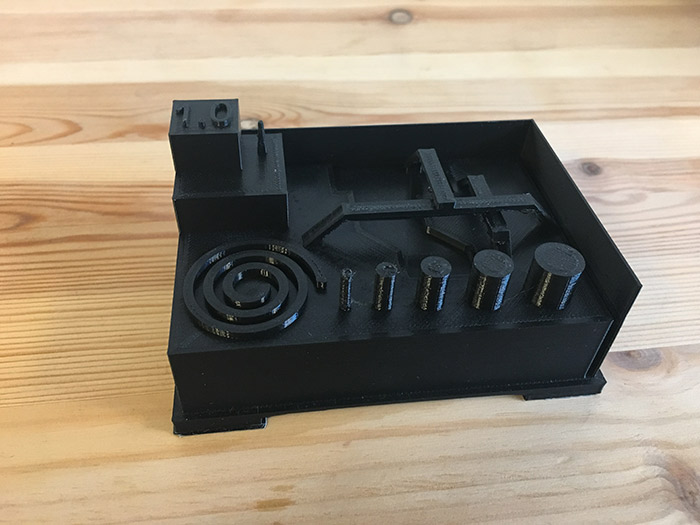
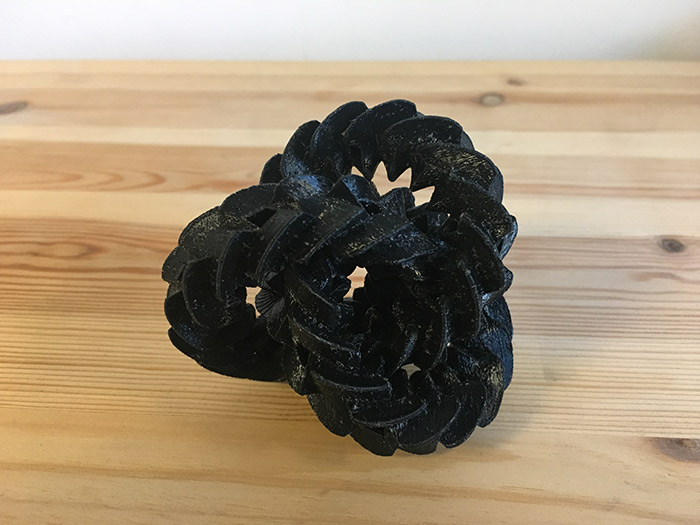
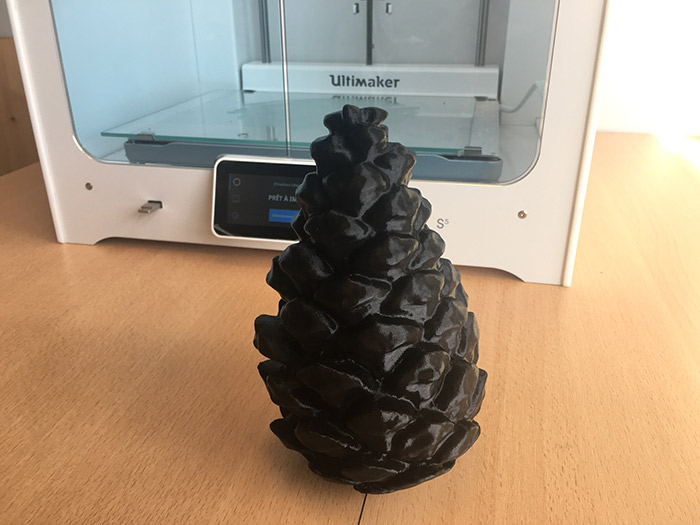
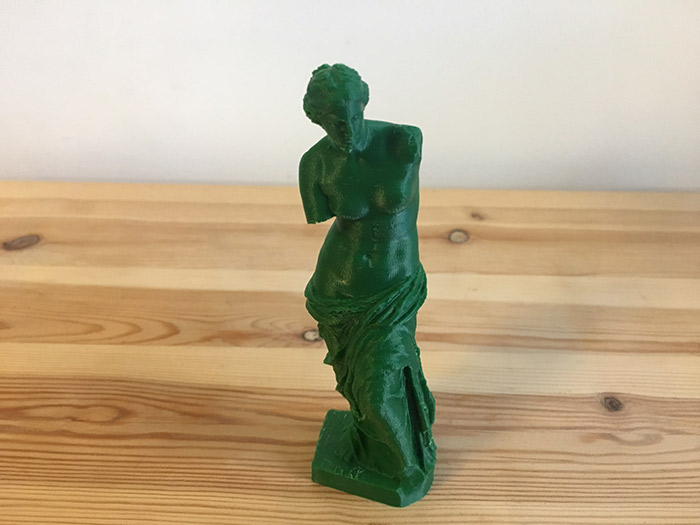
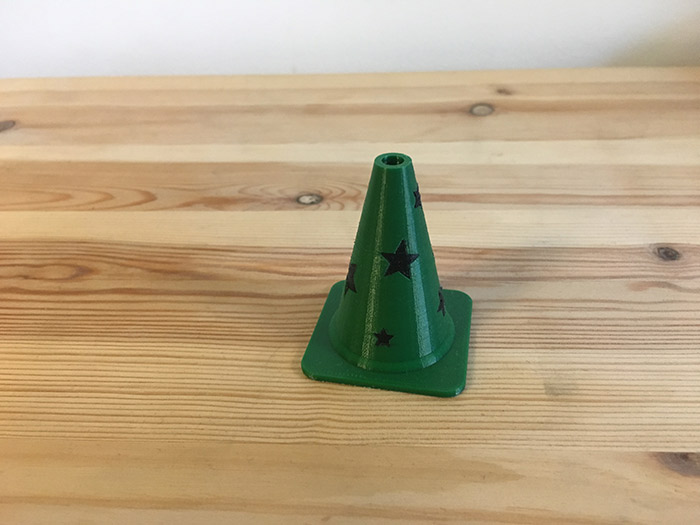
Find all of our 3D printer tests in the 3Dnatives Lab
What do you think of the Ultimaker S5? Let us know in a comment below or on our Facebook and Twitter pages! And remember to sign up for our free weekly Newsletter, to get all the latest news in 3D printing send straight to your inbox!
Conclusion
- Printer Content 9/10
- Software 9/10
- Print Quality 9/10
- Ease of use 9/10
Positive points:
– Many features
– Print volume
– Double extrusion
Negative points:
– Prices
– Printing time
With the Ultimaker S5, the manufacturer wanted to offer a FDM 3D printer as complete as possible: large volume, heating tray, semi-closed enclosure, double extrusion, WiFi, automatic calibration, colour touch screen, end of filaments detection etc. Quality of impressions is well to go with a very satisfactory overall experience. With a price of € 6,594 including VAT, this 3D printer is clearly not available for all and comes primarily to meet the needs of professionals.
It is interesting to note that the S5 shows Ultimaker’s wish to bet on reliability. By relying on various solutions such as complete active self-leveling, end-of-filament detection or cautious slicing of 3D models via Cura, the S5 has been designed to maximize print pass rates, sometimes to the detriment of time. impression but also of the price. The Ultimaker S5 3D printer can be found on Makershop’s online store here .


